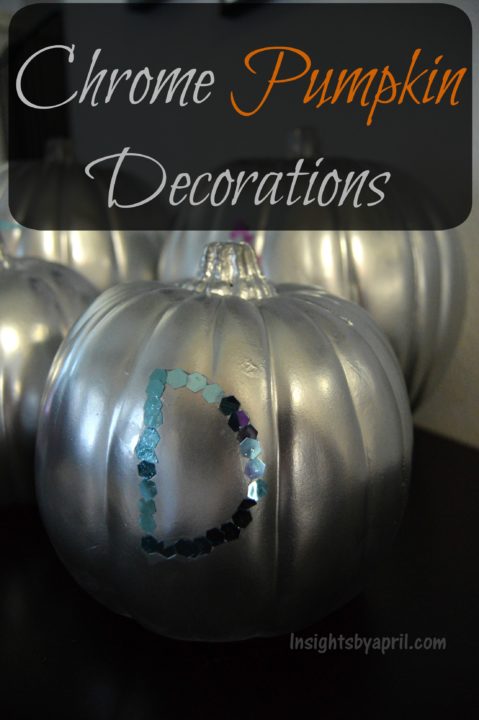
This year my goal is to actually decorate my house for each of the holidays. I will admit though that I am not the biggest fan of Halloween or fall colors. I don’t know, just not an orange fan. It is ok if you are and not saying I don’t like other people’s decorations, but I tend to stick with grays, whites, black, blue shades for all my decorations. I saw the post on Pinterest about the Looking Glass Pumpkins and thought, hey I can do that. Turns out that post is a scam! So I decided to turn around my Pinterest flop into something I love, hence my Chrome Pumpkin Decorations.
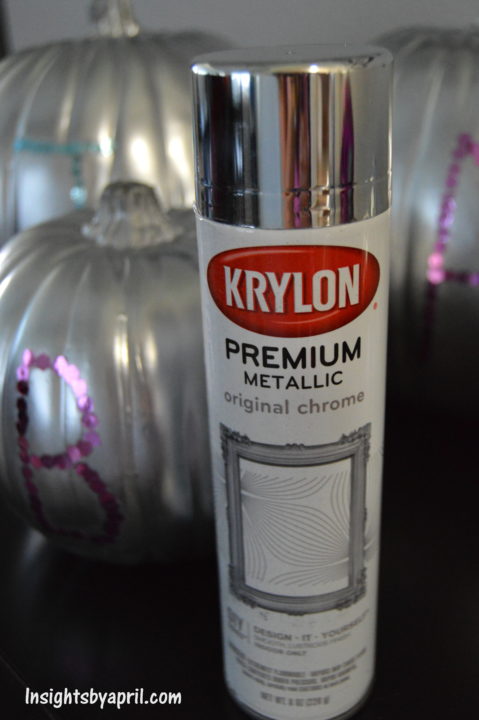
Let this be a warning to all that the Pinterest Pin about the looking glass pumpkins does not work unless you have clear glass pumpkins. If I had read the comments on the pin then I would have not wasted my money on the Krylon Looking Glass spray paint. Or if I had even read the directions on the back of the spray paint I would have known it would not work. So to save you money and time, here is my alternative chrome pumpkins. I was able to get the Krylon Chrome Spray Paint at Michael’s. It is half the cost of the looking glass paint and a larger can. Grant it I used my 40% coupon each time I went to buy the spray paint, but still it was not cheap to buy two cans of the looking glass spray paint only to have it make my pumpkins a dull grey 🙁
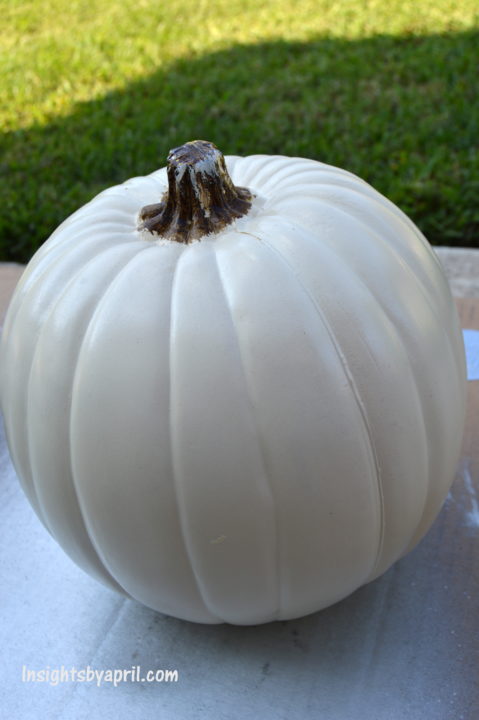
I used a white as well as a black plastic pumpkin and they turned out the same so the base color of your plastic pumpkin can be any color. I even did this project on some mini orange pumpkins and they turned out cute as well. Head outside with your pumpkins, spray paint, and a cardboard box. I also recommend putting on some gloves otherwise your fingers will turn out chrome(ified) like mine did.. haha I never said I used all of my brain while crafting! Oh and also make sure the nozzle is pointing away from you or you could spray chrome on your face(like someone I know did).
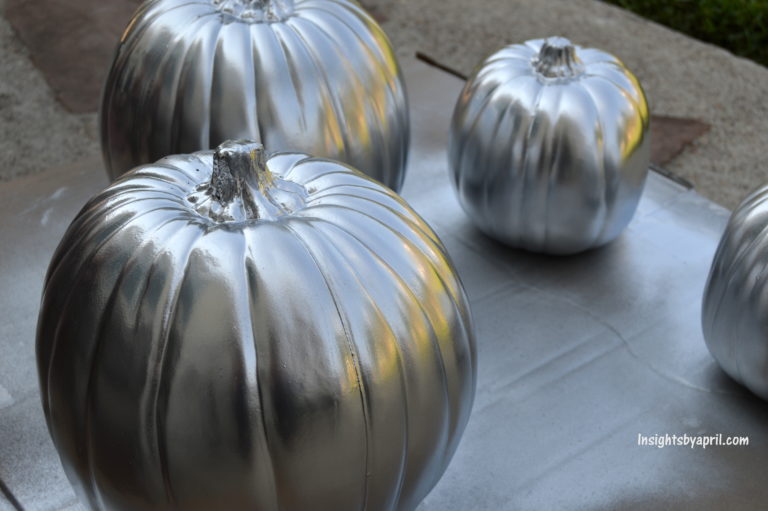
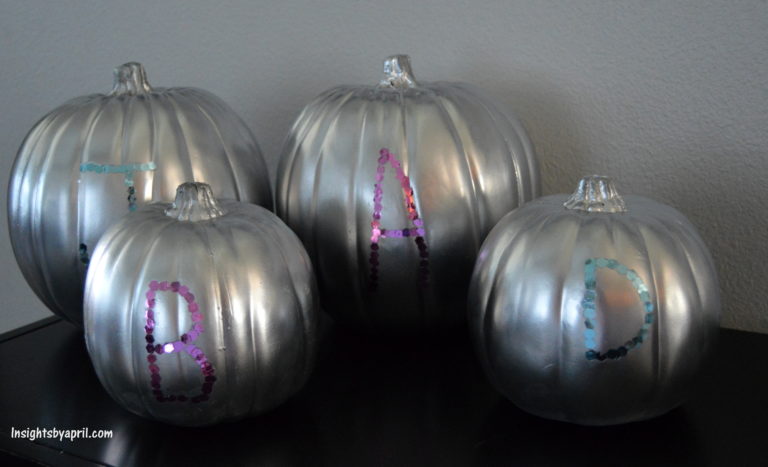
Sweep back and forth with the spray paint until your pumpkin is fully covered in an even layer. I wound up only having to do one coat of the chrome spray paint. The pumpkins instantly turn in to shiny reflective pumpkins that I actually really love. To make the sequin initials, trace out what letter you are going to put on each one with a pencil. Then go over the lines with a thin layer of clear glue. I just used basic Elmer’s glue but you could use a stronger glue if you would like. Place the sequins or large glitter in the shape of the letter and place the pumpkin on its side so that the glue has time to set. I learned that the hard way when as I was doing a periscope of how to add the glitter and the one I just finished was running down the pumpkin. Luckily I was able to puch the glitter back in to place since I used just basic glue.
If you want the glitter to really be set, you can spray the pumpkins with the shellac or something similar. I know Modge Podge makes a spray that you can use to set your project with so it can be used for years to come.
This was such an easy project that it makes me want to do more! Spray paint is my friend, well most of the time. How do you like to decorate for Halloween/Fall?
I have always been such a fan of metallic goodness, love how they turned out!
Pinning to my Pumpkins and Such Board:)
Jemma
They turned out way better than I was expecting and really so easy to make.